
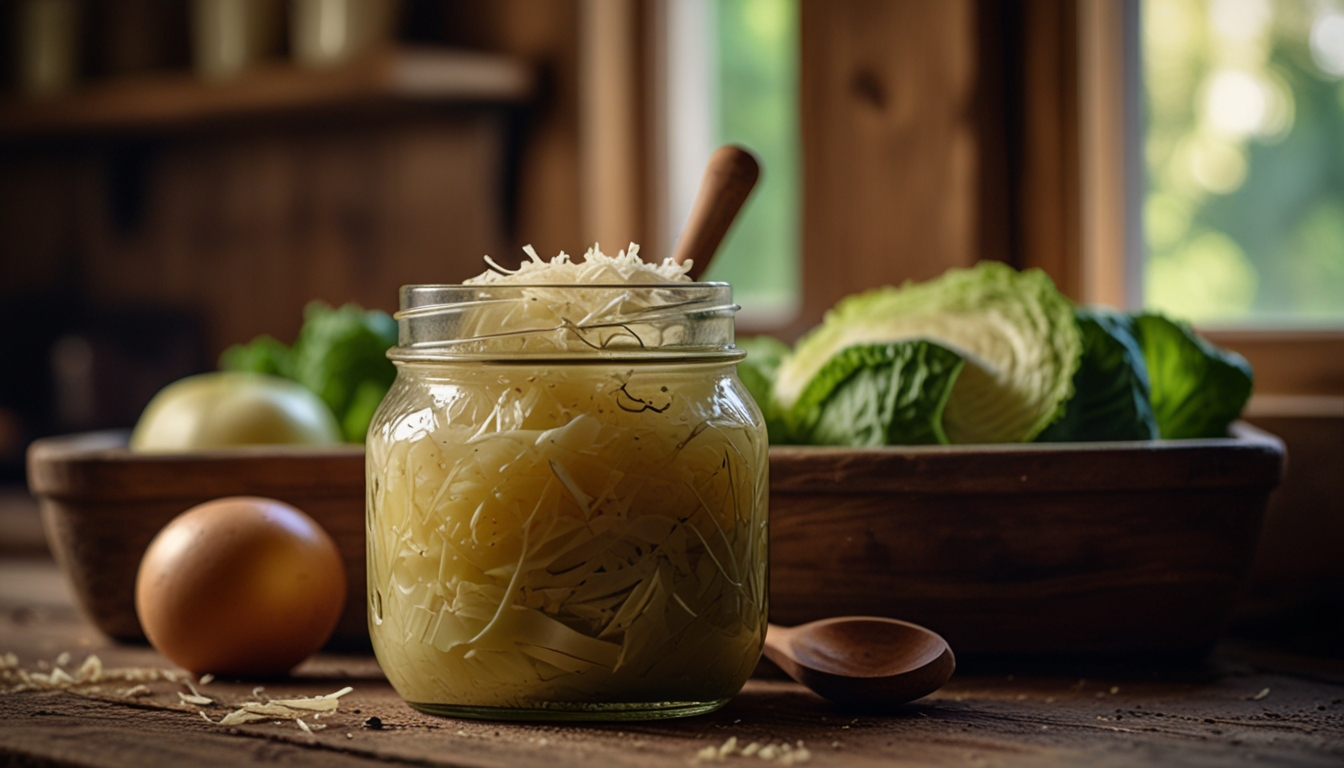
Sauerkraut is the perfect first ferment: it needs just two ingredients, no special equipment, and it’s almost impossible to get wrong once you know the basics. In this guide you’ll make a jar of crunchy, tangy sauerkraut from scratch — and learn exactly what’s happening so you feel confident every step of the way.
New to fermenting altogether? Start with our beginner basics for the big picture, then come back here to make your first batch.
Not sure how much salt to use? Try our sauerkraut salt calculator — enter your cabbage weight and get the exact measurement in grams, ounces, or teaspoons.
What You’ll Need
Sauerkraut is just cabbage and salt, fermented in its own juice. That’s it. The salt pulls water out of the cabbage to create a brine, and the natural bacteria on the cabbage do the rest.
Ingredients
- 1 medium head of green cabbage (about 2 lb / 900 g)
- 1 tablespoon fine sea salt (non-iodized, no anti-caking agents)
Equipment
- A clean wide-mouth glass jar (paid link)(1 quart / 1 liter)
- A fermentation weight (paid link)(or a smaller jar / a zip bag filled with brine) to keep the cabbage submerged
- A large mixing bowl
You don’t need a fancy crock to make excellent sauerkraut — a jar works perfectly for your first batch. If you catch the fermenting bug, we cover the tools worth buying in our equipment guides.
The Simple Salt Rule
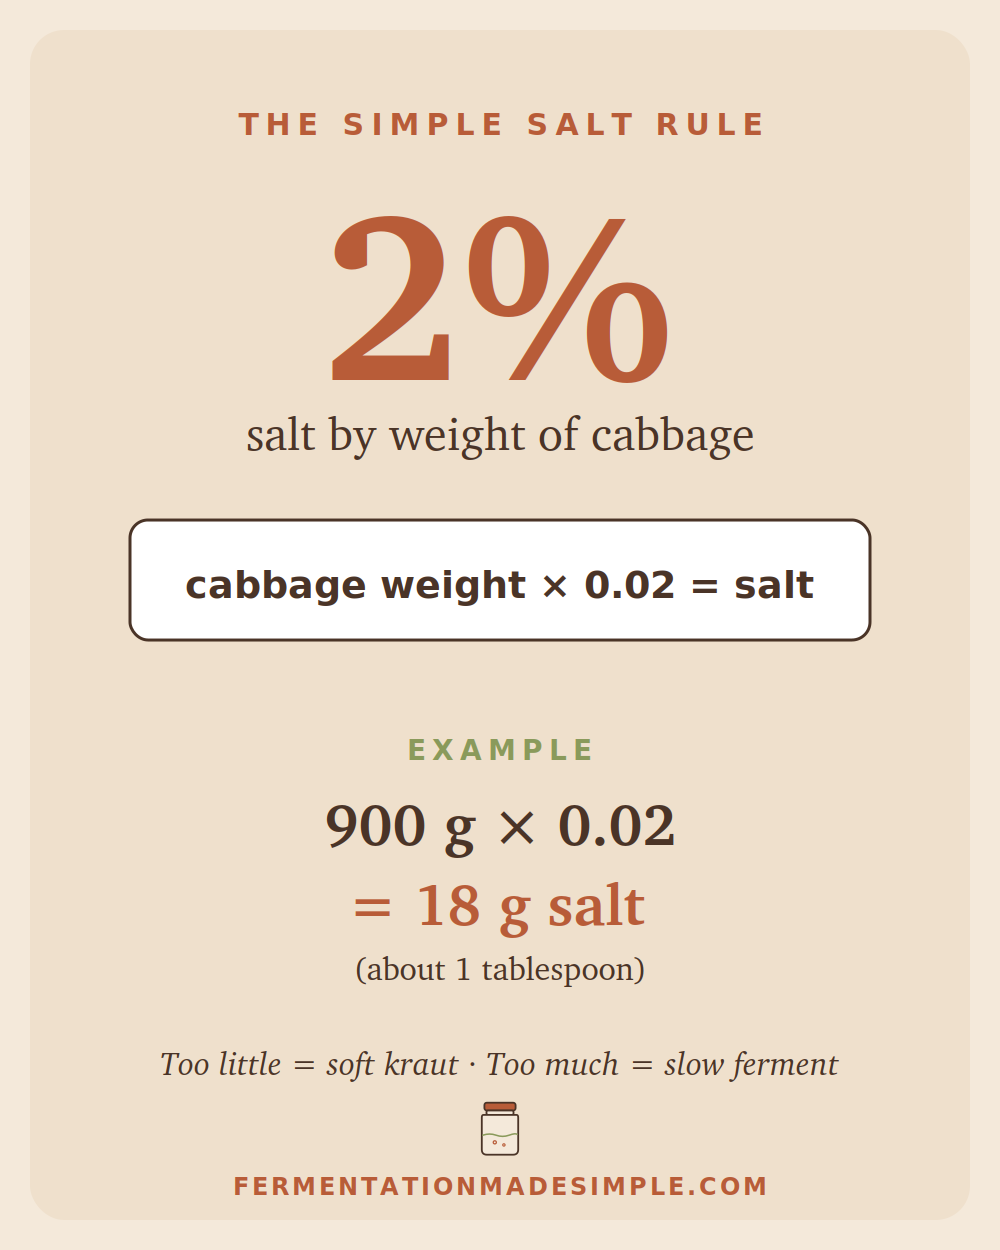
The one number worth remembering is 2% salt by the weight of your cabbage. Weigh the shredded cabbage, multiply by 0.02, and that’s how much salt to use. For 900 g of cabbage that’s about 18 g (a generous tablespoon). This ratio keeps the ferment safe and crunchy — too little salt and it can go soft, too much and it slows down.
Step-by-Step
- Prep the cabbage. Remove the outer leaves and set one aside. Quarter the cabbage, cut out the core, and shred it thinly.
- Salt it. Put the shredded cabbage in your bowl and sprinkle the salt over it.
- Massage. Squeeze and massage the cabbage with clean hands for 5–10 minutes. It will soften and release liquid until there’s a pool of brine in the bowl.
- Pack the jar. Press the cabbage firmly into your jar, pushing out air pockets, until the brine rises above the cabbage.
- Keep it submerged. Lay the reserved cabbage leaf on top and add a fermentation weight so nothing floats above the brine. Anything above the liquid can spoil.
- Cover loosely. Close the jar loosely (or use an airlock lid) so gas can escape. Set it on a small plate to catch any overflow.
How Long It Takes
Keep the jar at room temperature, out of direct sunlight. Fermentation usually takes 1 to 4 weeks. A warm kitchen (around 70 °F / 21 °C) ferments faster; a cool room takes longer. Start tasting after about 5 days.
How to Know It’s Done
It’s ready when it tastes pleasantly sour and the bubbling has calmed down. There’s no exact finish line — ferment it to the tanginess you like. In the first days you’ll see bubbles and cloudy brine; both are completely normal signs of a healthy ferment.
How to Store It
Once it tastes right, screw the lid on tight and move the jar to the fridge. Cold slows fermentation to a crawl, and your sauerkraut will keep for many months as long as it stays under the brine.
Common Mistakes
- Cabbage floating above the brine — the most common cause of problems. Always weigh it down.
- Using the wrong salt — iodized table salt can cloud the brine and interfere with fermentation.
- Sealing the jar too tight — the gas needs somewhere to go. Loosen the lid daily if you’re not using an airlock.
Seeing a white film or worried about mold? Don’t panic — read our troubleshooting guides to tell the difference between harmless kahm yeast and actual mold.
FAQ
Do I need a starter culture?
No. The bacteria that ferment sauerkraut are already on the cabbage. Just cabbage and salt is all you need.
Does it need to be refrigerated while fermenting?
No — it ferments at room temperature. The fridge is only for storage once it’s done.
Why is my brine cloudy?
Cloudy brine is normal and expected during active fermentation. It’s a sign the good bacteria are doing their job.
Making this? Save it on Pinterest so you can find it when you’re ready to ferment.
Related recipes: Fermentation for Beginners (start here) · Easy Kimchi for Beginners · Fermentation Troubleshooting